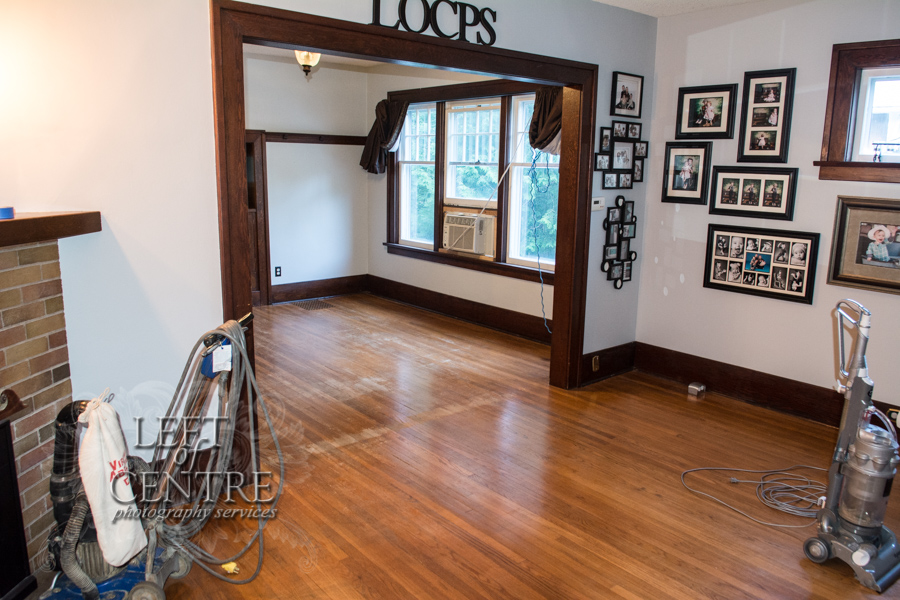
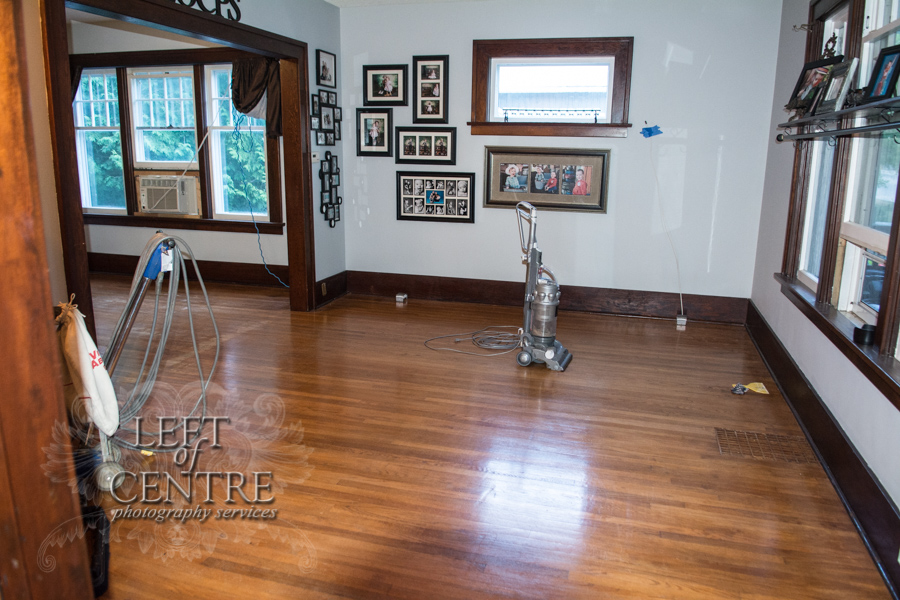
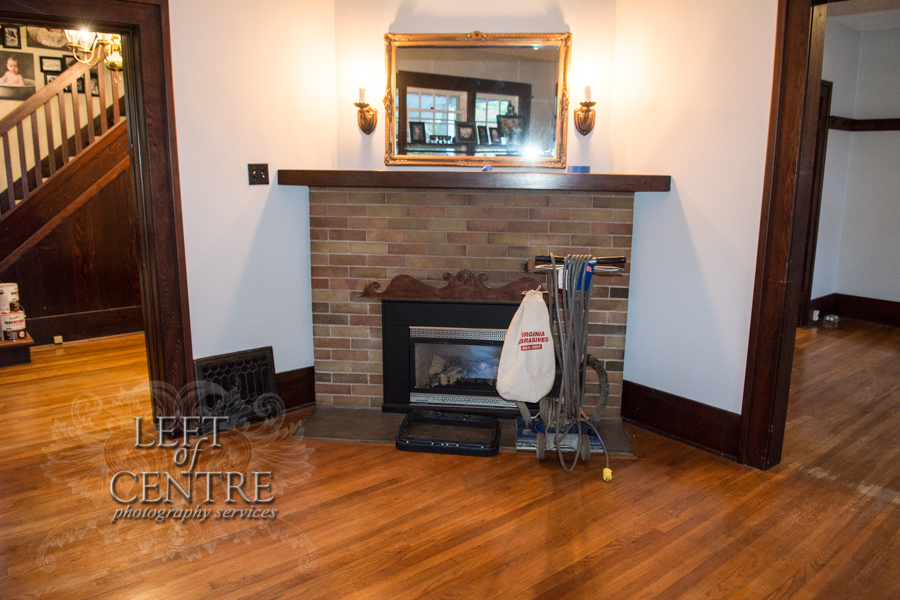
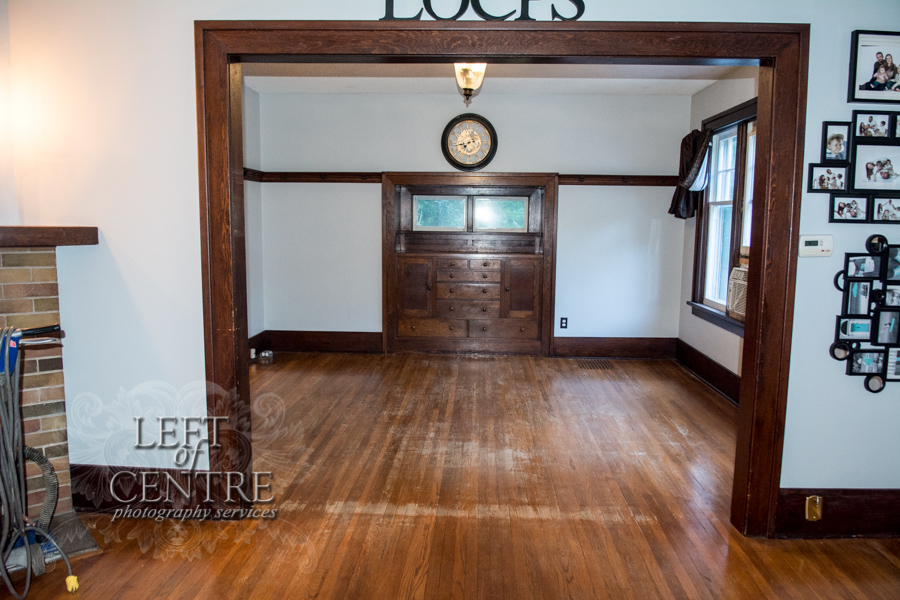
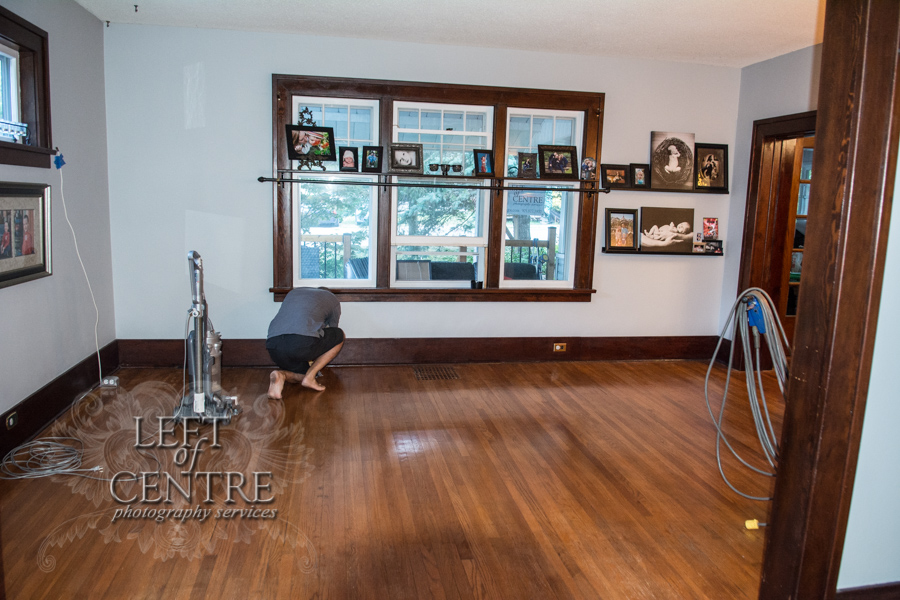
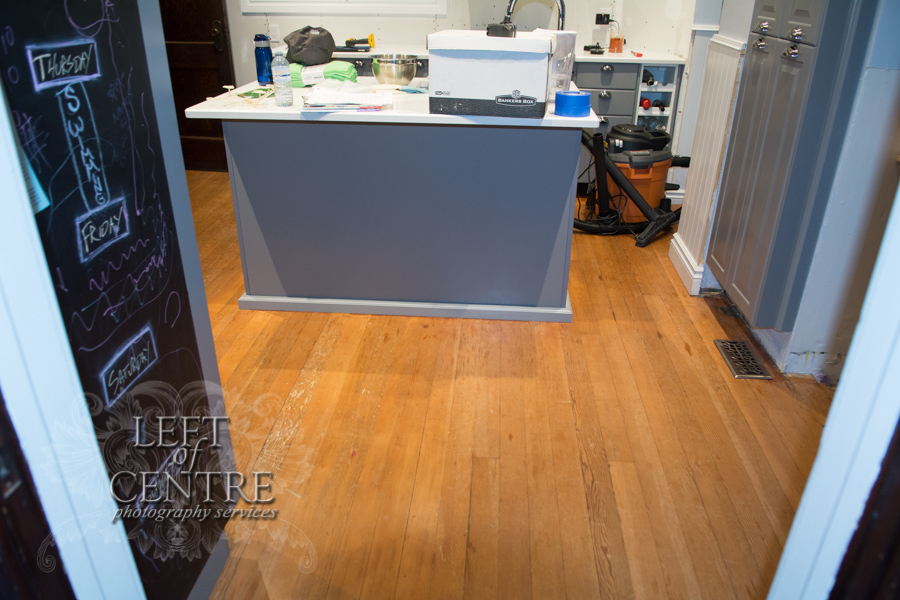
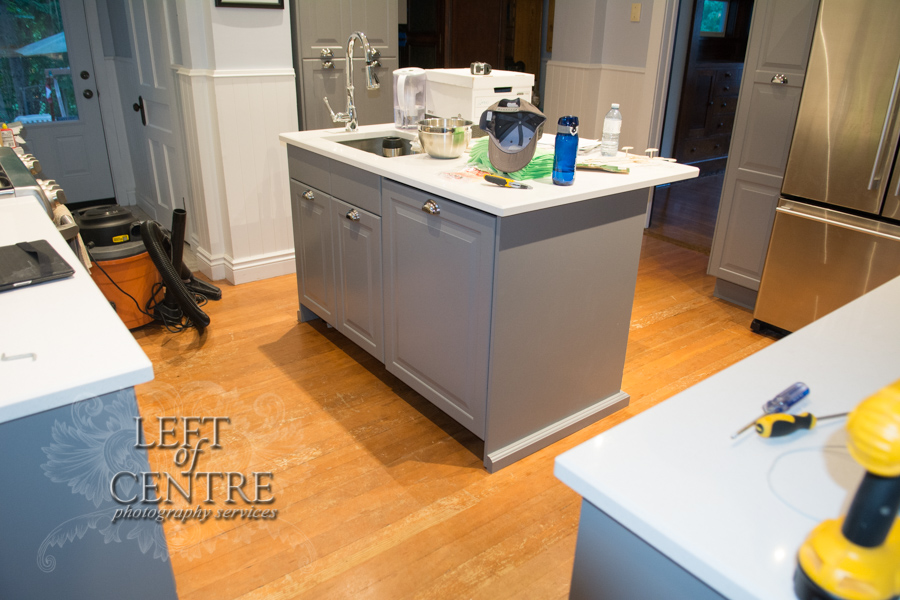
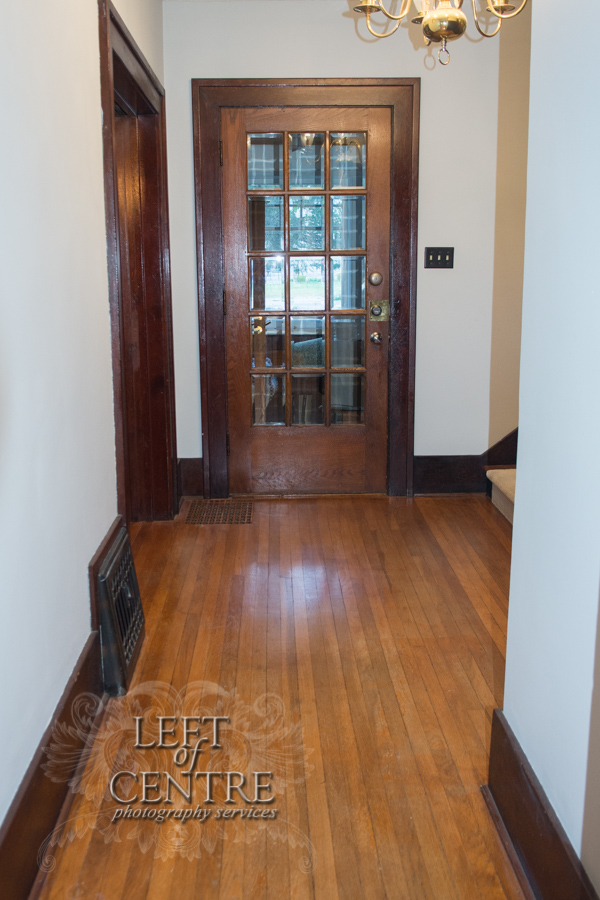
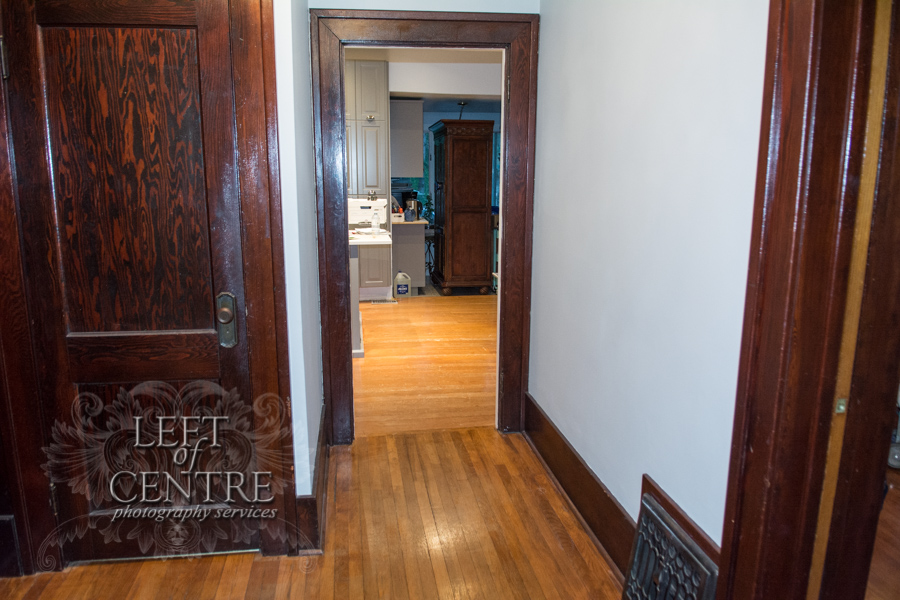
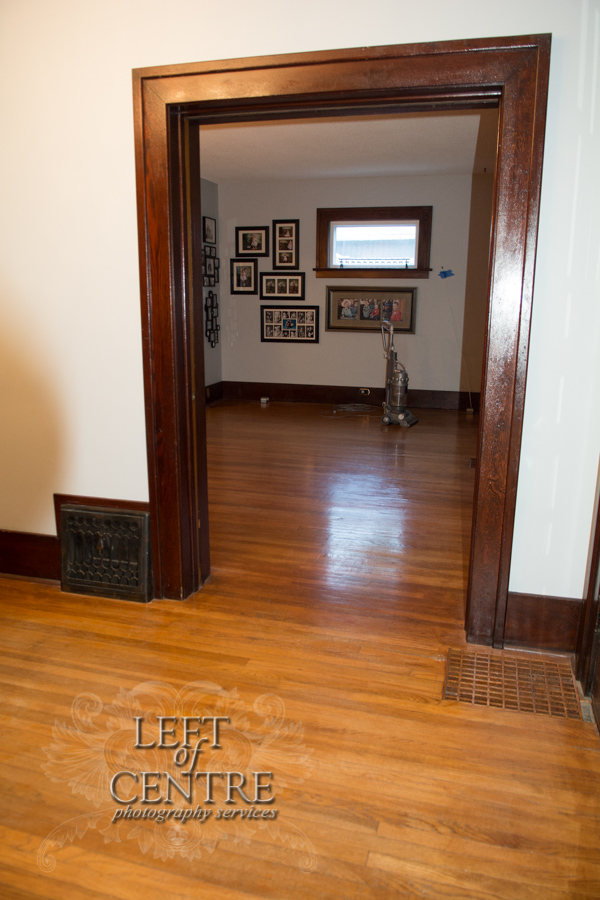
Summer is my second favourite time of year; fall being my first. In previous years our summers would be filled with weddings every weekend, but now that we have decided to change things up and not photograph weddings any longer we have a little more time on our hands for other photography jobs, projects and adventures. We are taking full advantage of summer this year with day trips, explorations and we are currently in the process of redoing our front entranceway, stayed tuned for more postings on this. Generally we do one renovation per year, ranging from a fresh coat of paint to a complete kitchen overhaul. Last summer we took a good look (we actually tried not to look too closely) at our floors. Our home studio is pushing 100 years old and the original wooden floors had taken quite the beating over 8 years. With sessions involving moving background and lighting around the floor the wood had definitely seen better days as you can see below -
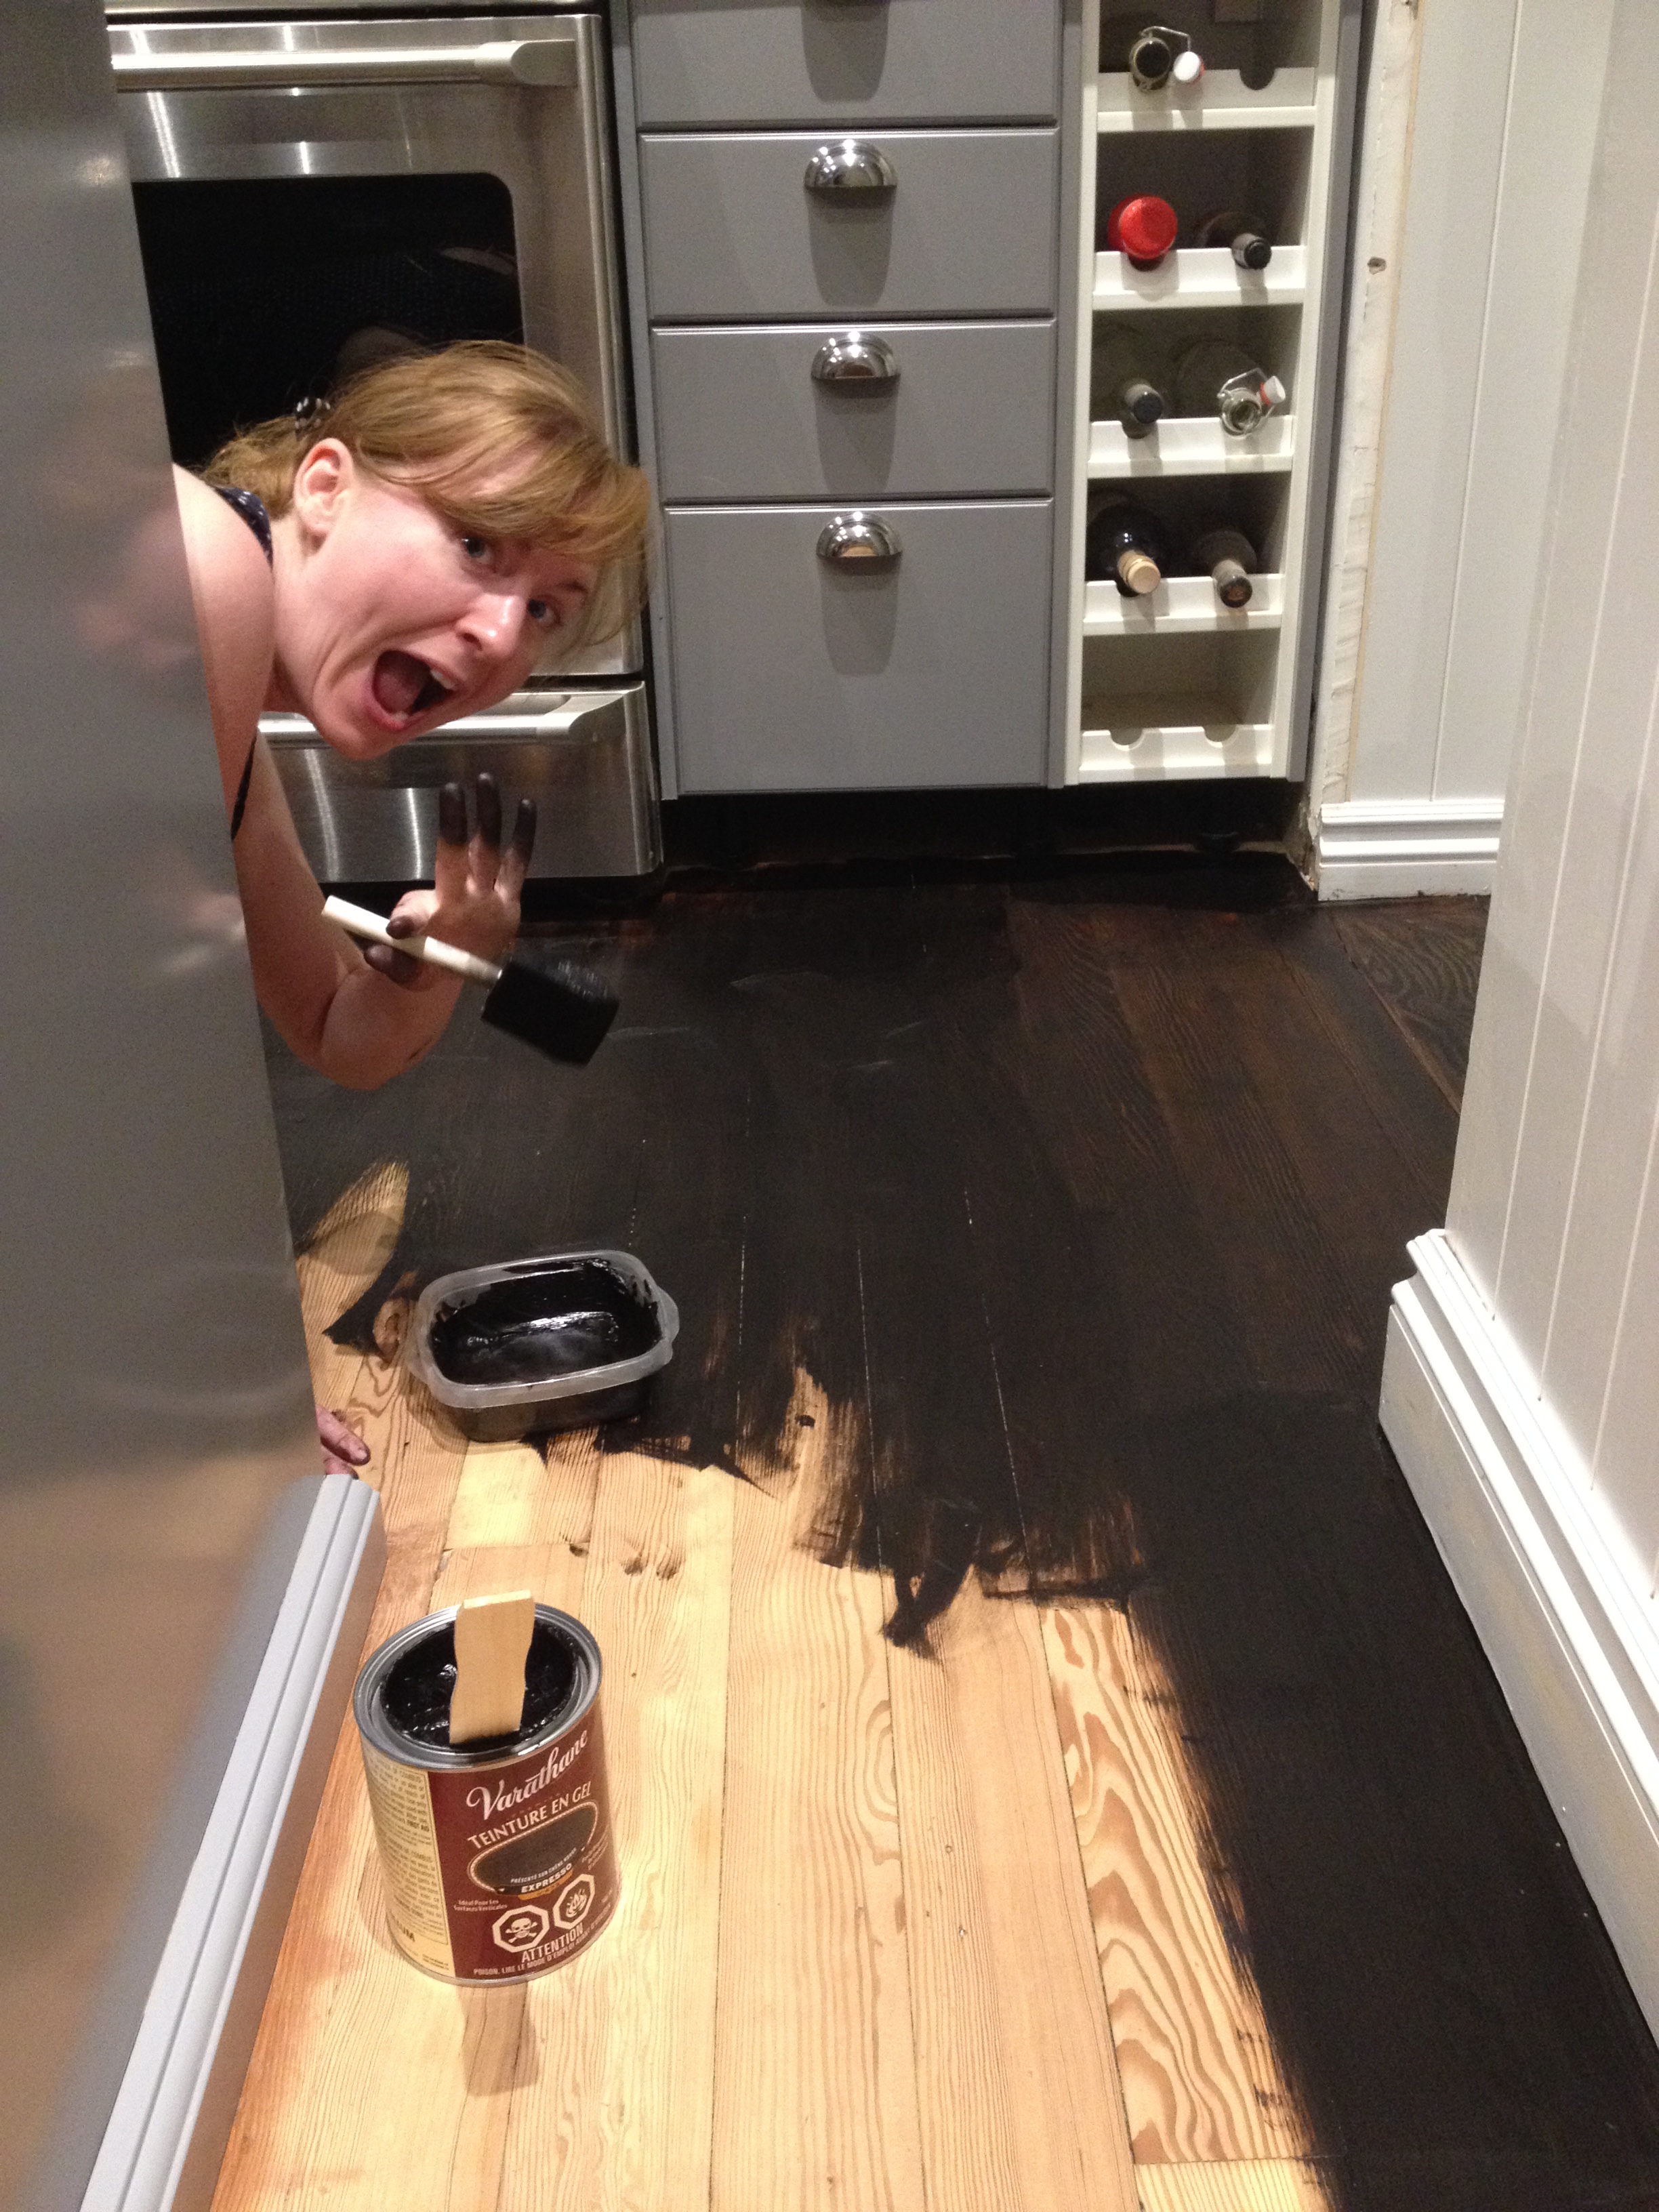
The question was, how do we fix this? We, like many, love a good DIY, but you have to be really careful with wood floors. For instance, a drum sander with just a little too much pressure can go right through the floor and you could wake up nicely chilled in your basement due to sanding right through the wood. If you think logical facts like this would stop us, you are wrong. We decided to give it a go and commit to this incredibly risky DIY. Now, we aren't complete fools (that's what we tell ourselves anyway), so we decided to use an orbital sander opposed to a drum sander. Though it would take longer and go through more sand paper it would also make sure our unfinished basement would not become open to our studio space. You can thank us for not risking your lives with the possibility of falling through the floor and into our basement when you're next visiting our studio! Of course the process took waaayyy longer than anticipated, plus we had to hideaway for a few days after the final coat of sealant was on to guarantee that it had actually completely dried and we wouldn't end up destroying all our (Jeff's) hard work. In the original "plan" (my plans are always in quotations because they aren't really plans, they are "ideas"..."thoughts"... "disasters") we were going to skip the kitchen. Too much work and we, "technically", were still completing that reno. Being a typical "Amy plan", the kitchen was not only involved with our floor renovation it was also stained a completely different colour. Go big or go home, right? I have never stained a floor before, but I am very good at picking out a colour of floor stain so naturally this makes me a professional. We decided that splitting the kitchen floor between us, me on one side and Jeff on the other, would make it faster and easier... and faster. This was a mistake because, although I am not at all competitive, I decided that I was going to do my half of the kitchen floor the fastest, and I did! I also was completely covered in stain, as were some of the walls and kitchen cabinets. All wipeable, well, the cabinets wiped off... looks like I will be painting the trim white again, but I won and that's really the moral of the story!
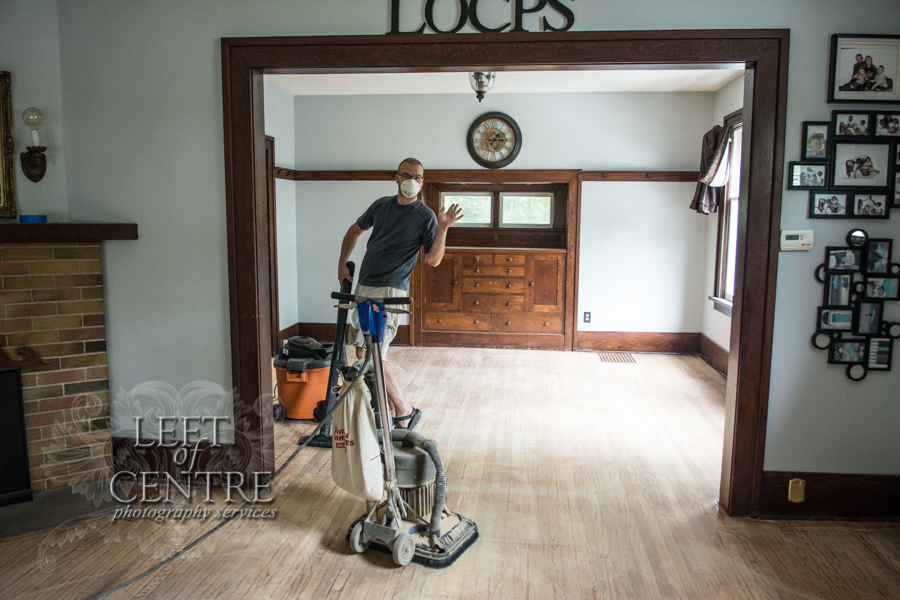
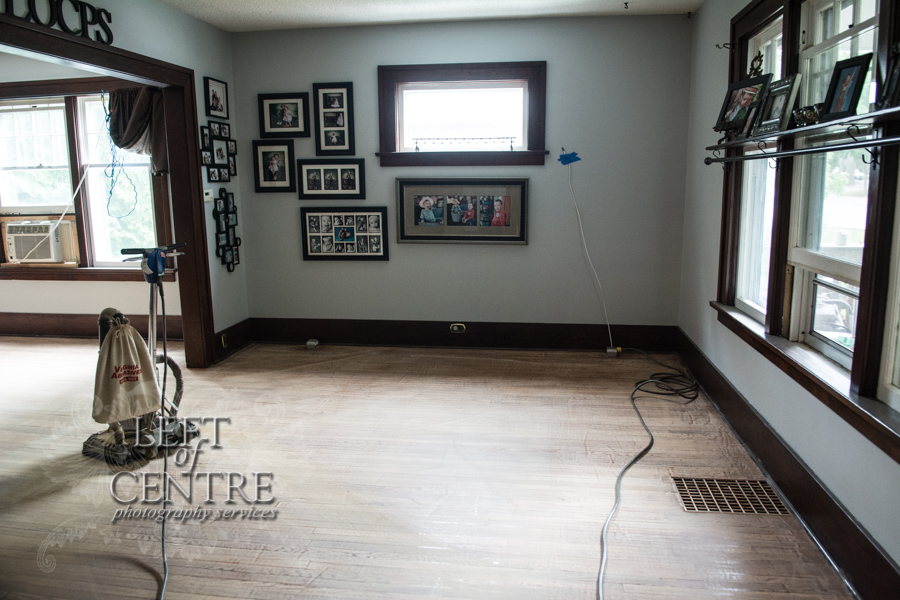
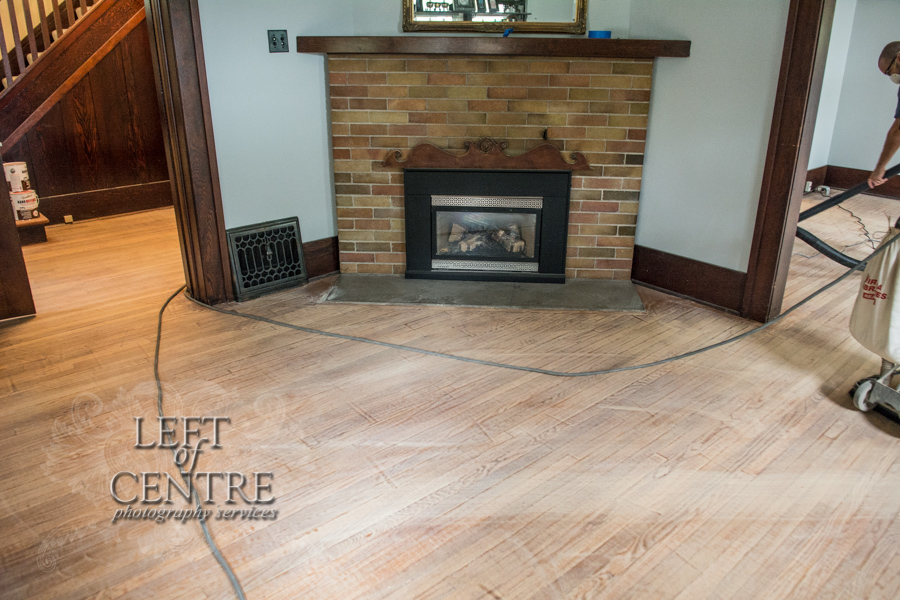
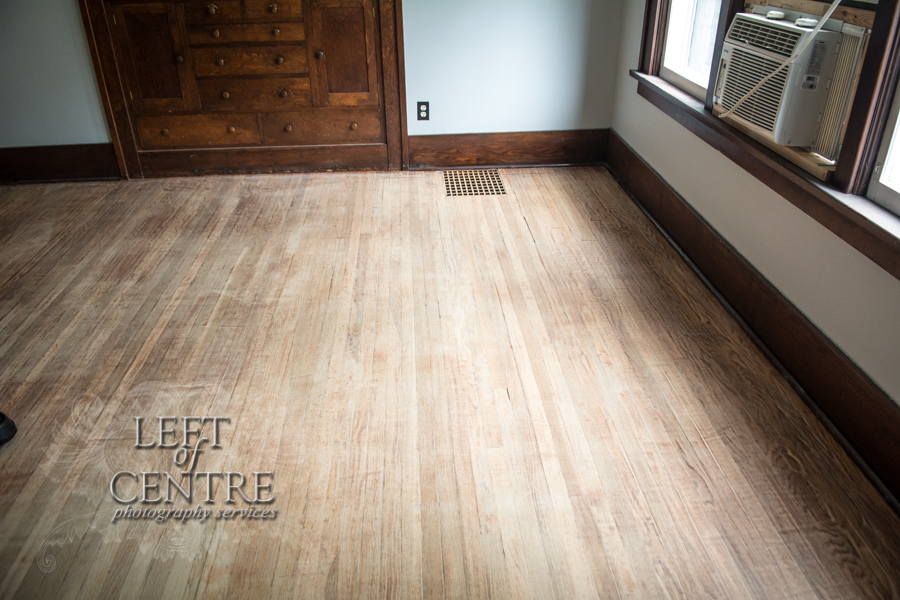
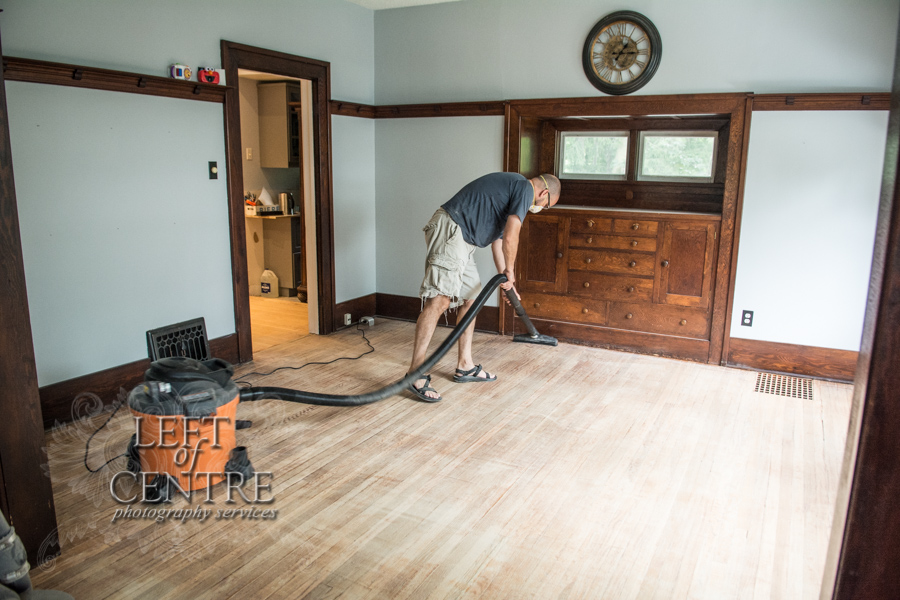
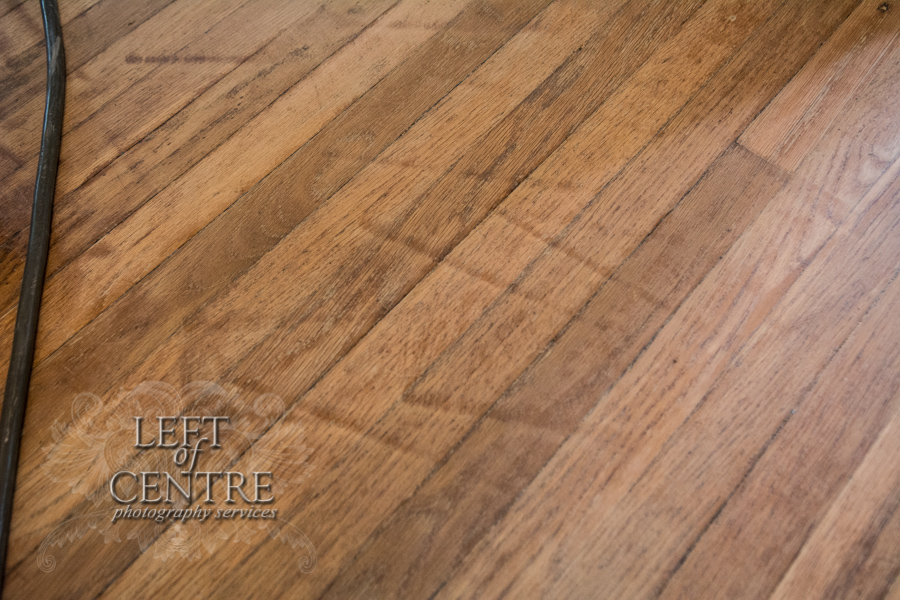
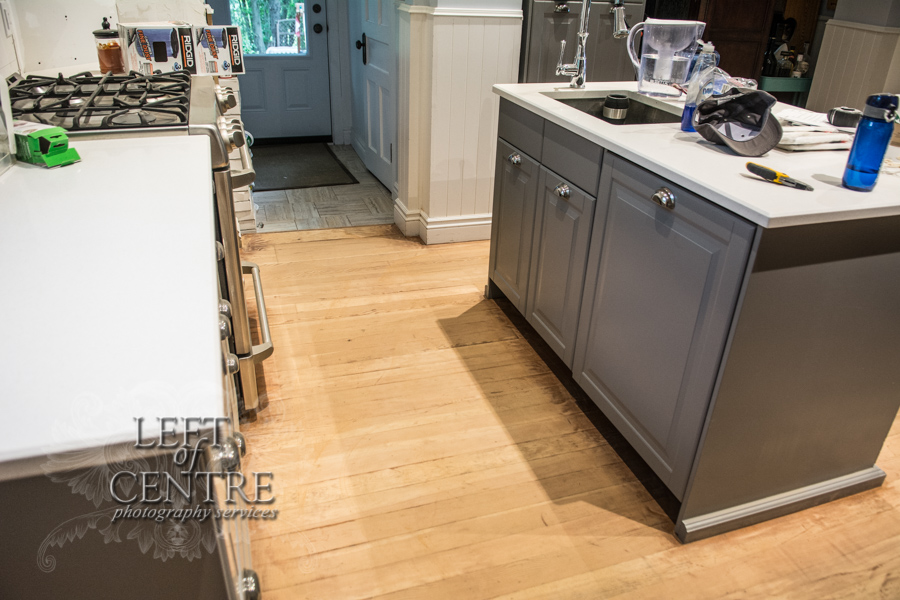
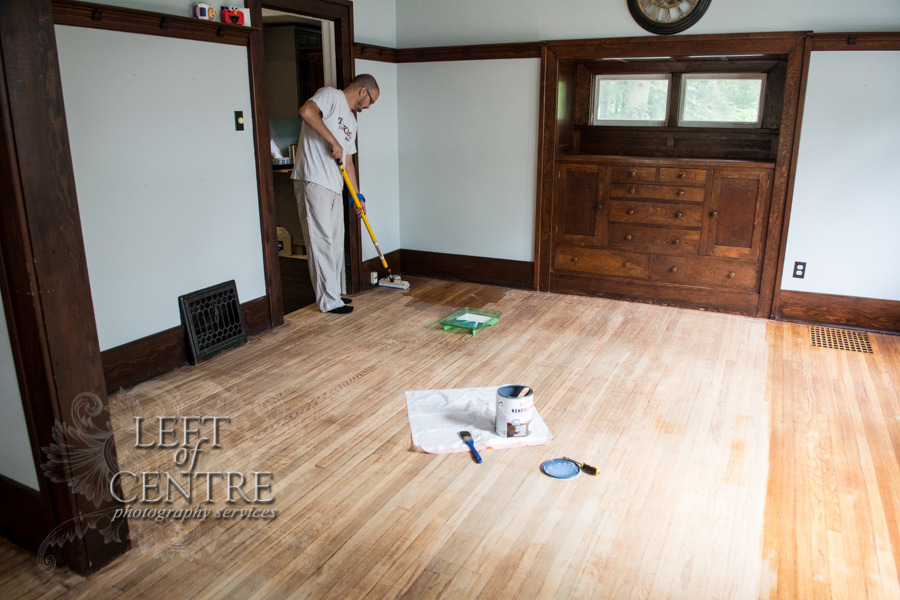
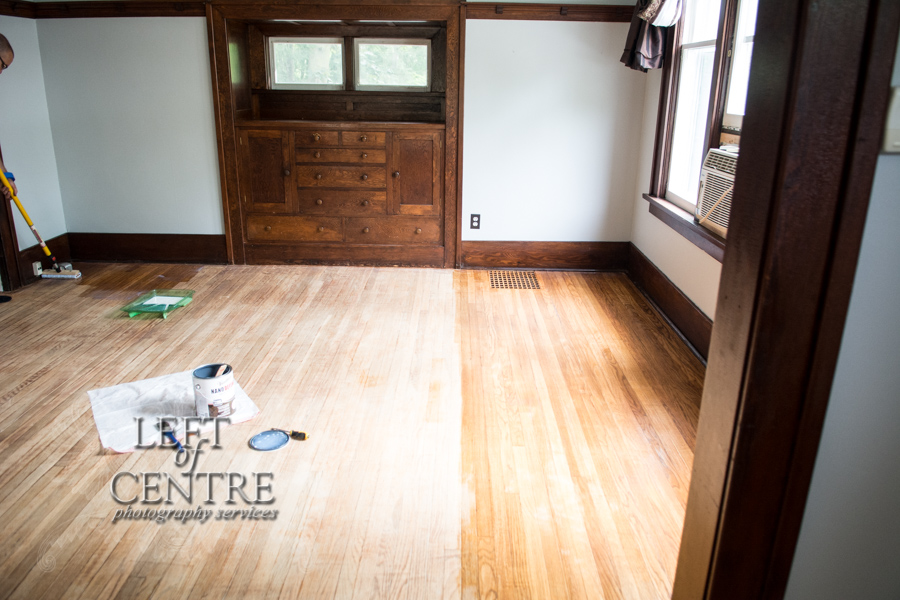
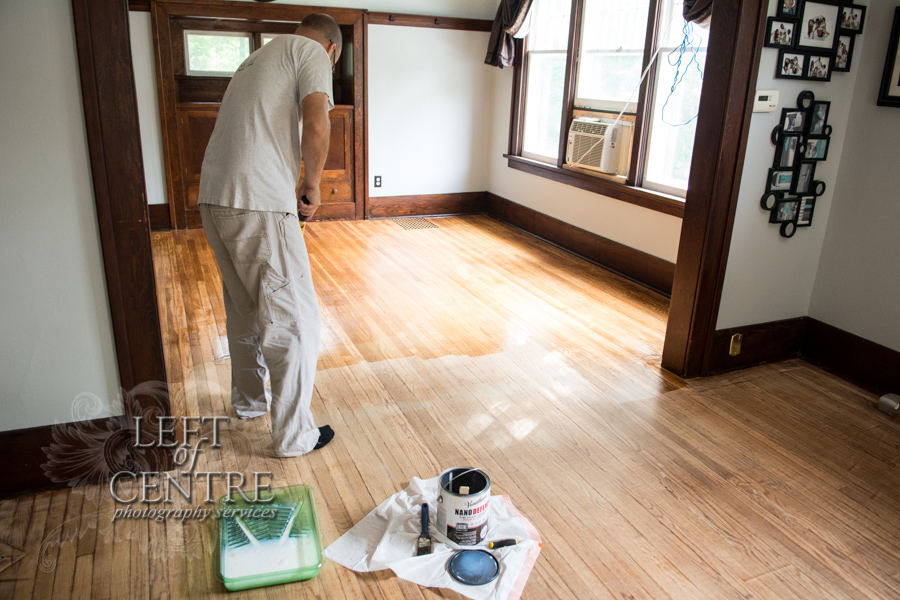

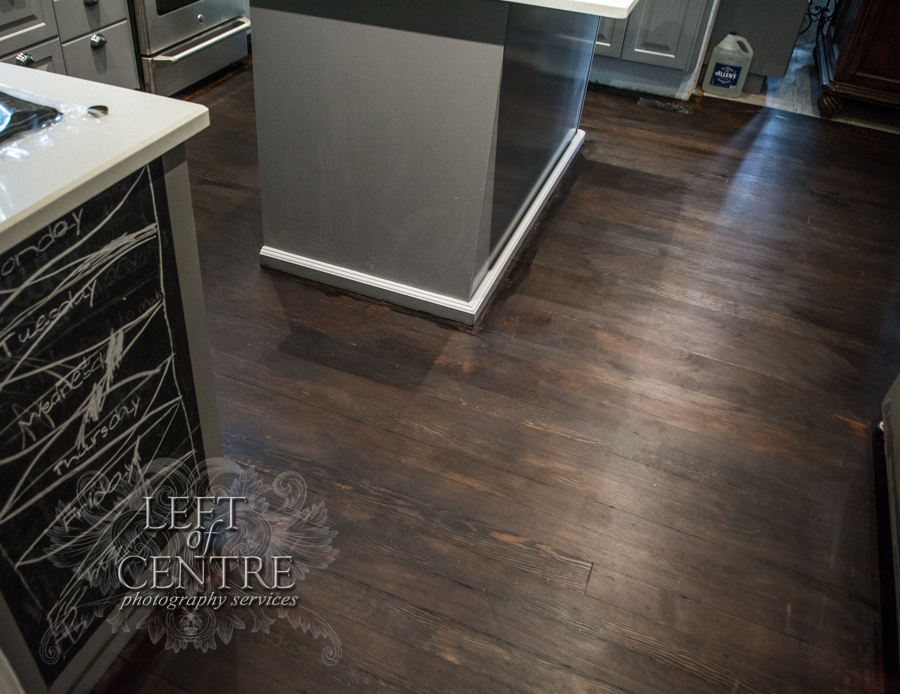
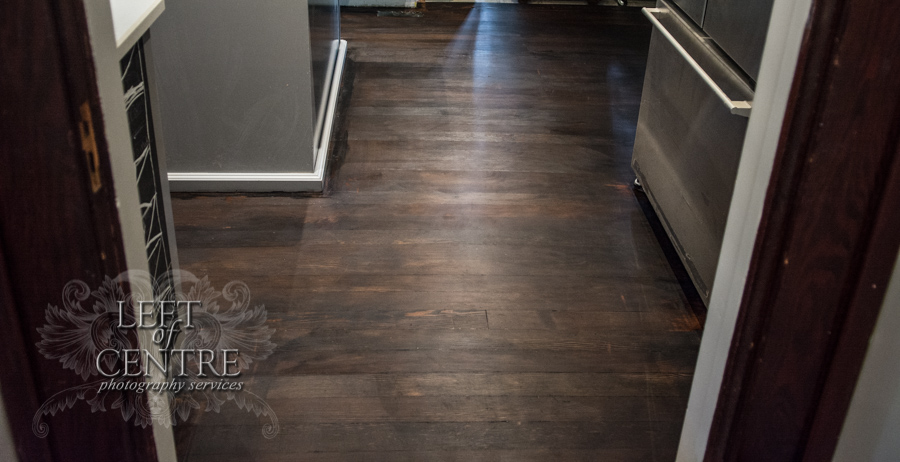
Overall I am very pleased with the outcome and a year later the floor is holding up well regardless of the numerous studio setups and cake smashes that occur.
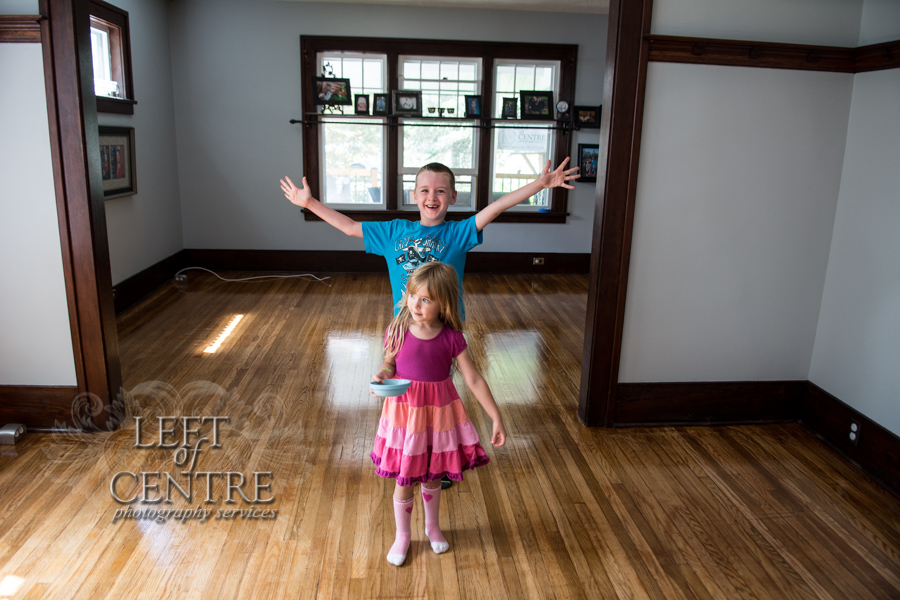
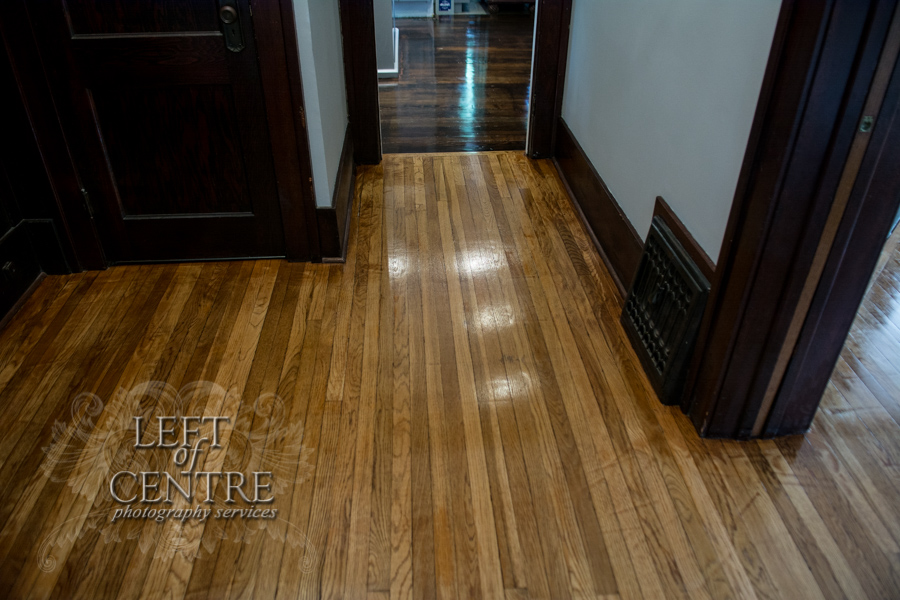
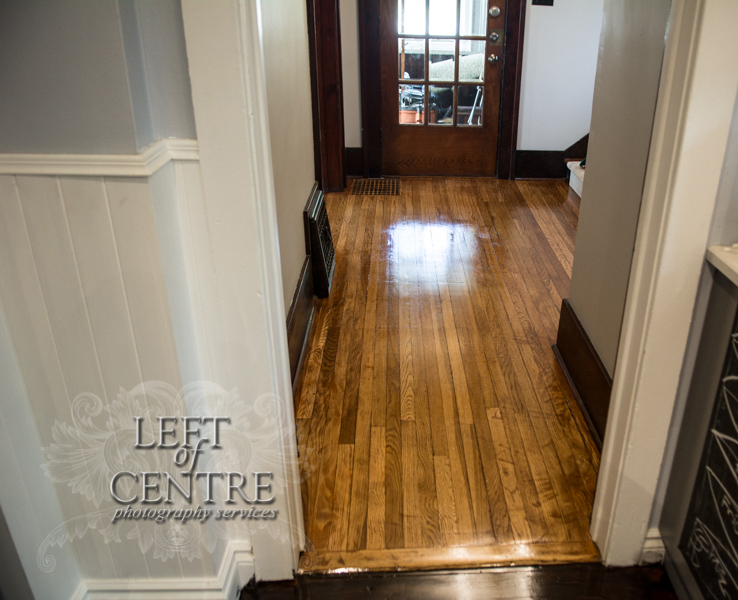

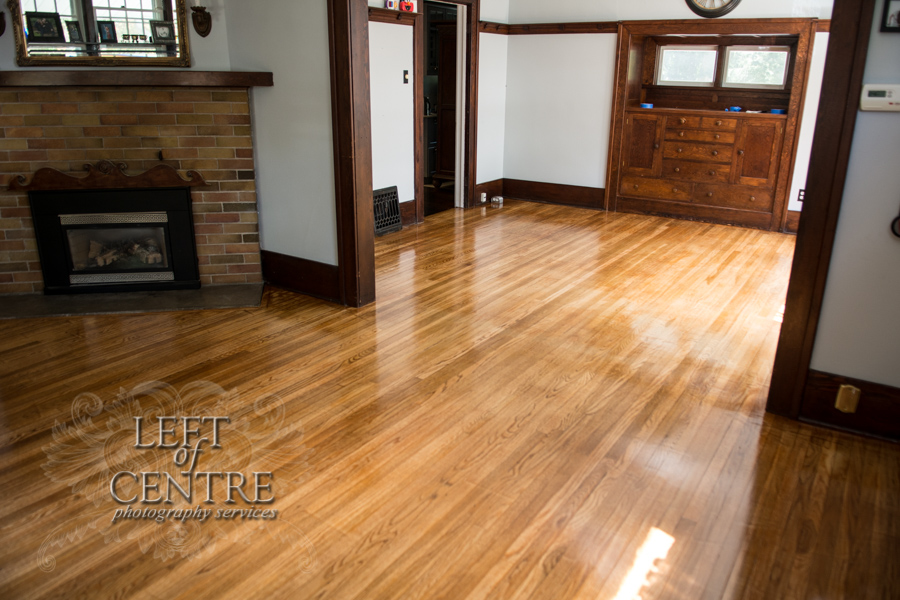
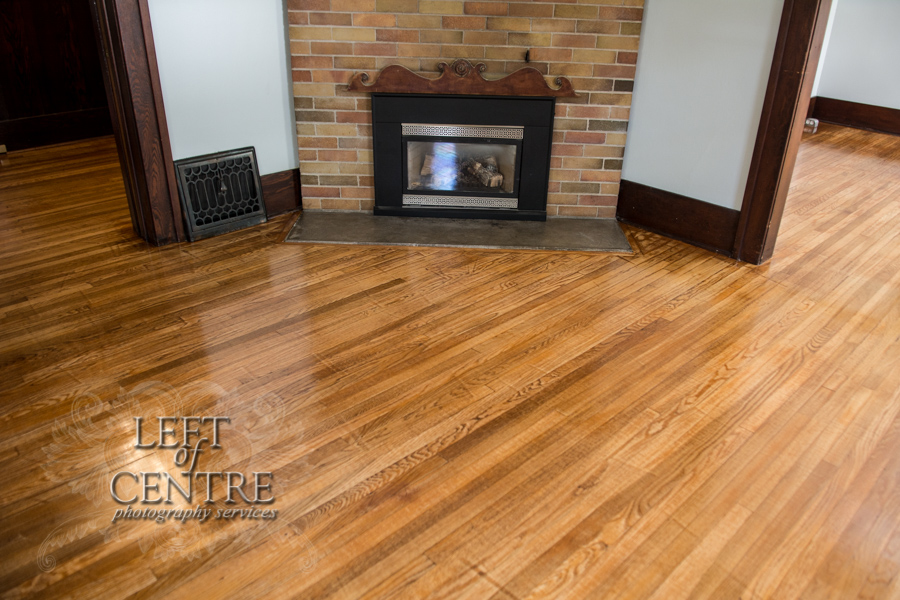
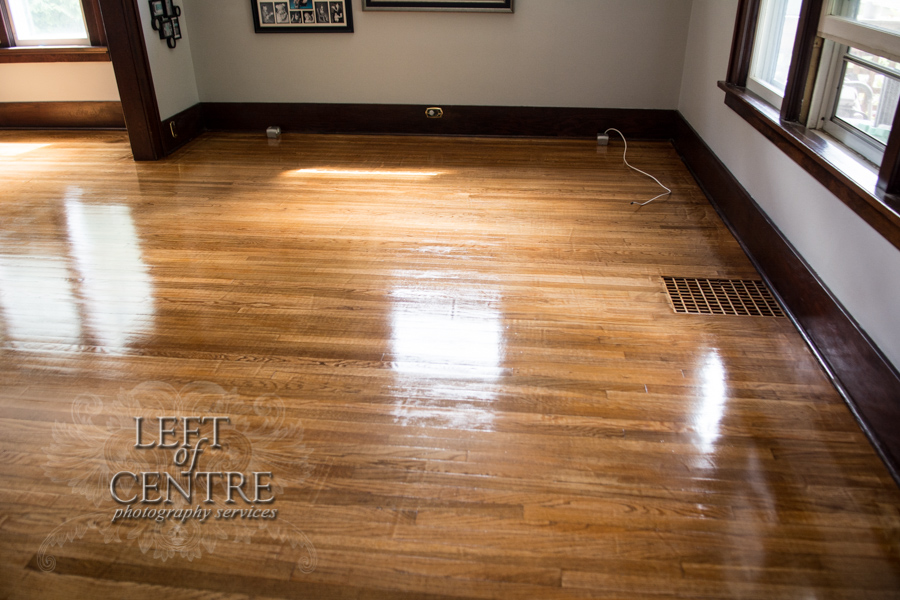
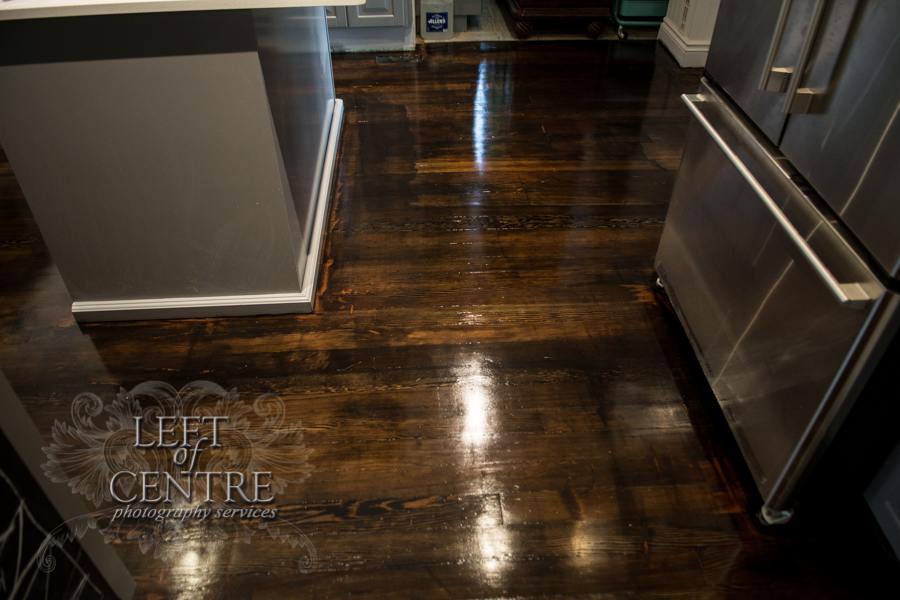
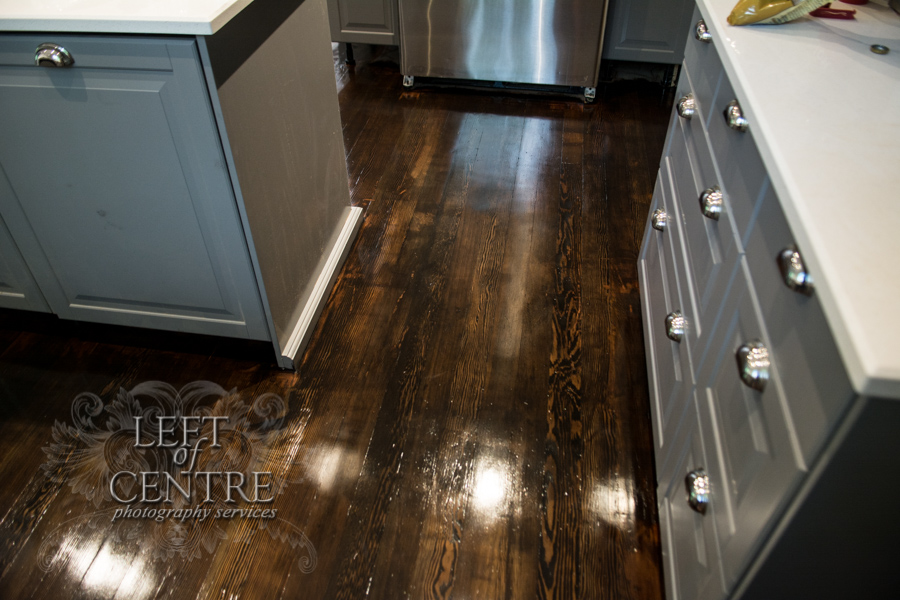
I hope this post was worth a 4 week wait. I won't make you wait a year until you see our front entryway, although at this rate it may take Jeff a year to complete it. Which would be a shame, because I have a lot more "plans"!
See you next week (I promise!).
Love, LOCPS xoxox
Looking for awesome photos? Of course you are! Let us help you with that- Left of Centre Photography Services www.locps.com info@locps.com 905-877-3900

